.png?width=1109&height=405&name=HT_horizontal%201976_TM%20(1).png)
Troubleshooting
Need a quick fix or step-by-step help? Our troubleshooting hub gives you access to install and repair videos, how-to articles, a service chatbot, and our service team. This is your go-to spot for answers and support.

Meet Hayley!
Our Service Based Customer Agent- Have a question and don't have time to search for it yourself? Let Hayley do the work and deliver you the fastest answer. If she is not able to answer your question, she will escalate it to one of Harvest Tec's Service Technicians. Open the chat icon in the bottom right of the webpage and let Hayley find you a solution!
Harvest Tec's Knowledge Hub
Have a question? The Knowledge Hub is your searchable library of how-to articles, tech tips, and troubleshooting advice—all written by our in-house experts. It’s a great place to get quick answers, learn more about your equipment, and find solutions without the wait.
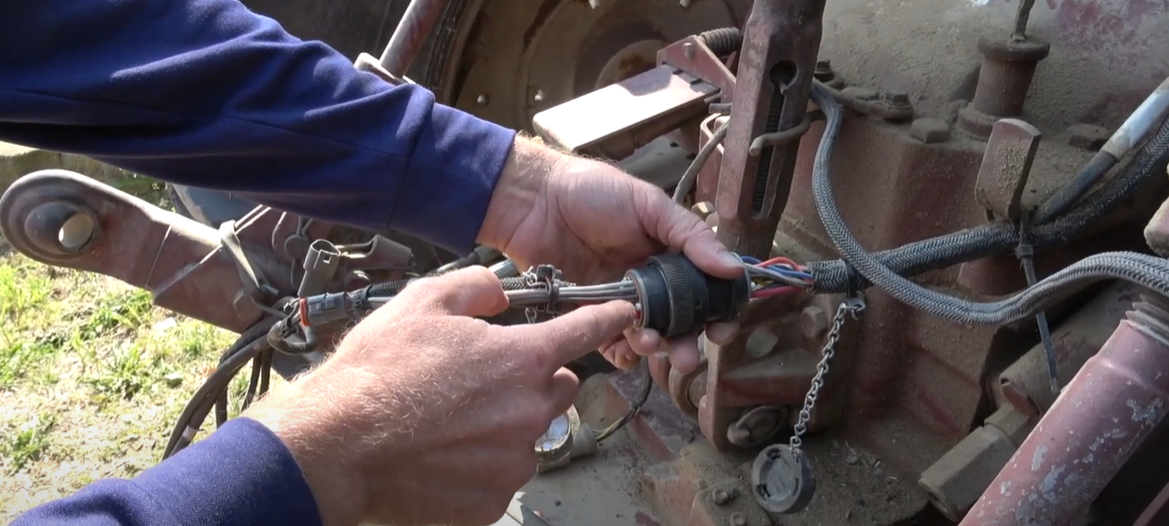
How-To Video Library
Prefer to see it in action? Our YouTube channel is packed with step-by-step videos to walk you through installs, service checks, and common fixes. Whether you’re setting up a new system or solving a problem in the field, these videos make it easier to get the job done right the first time.
Do you want access to all Harvest Tec
Install and Repair Videos?
Unanswered Questions?
Schedule a one-on-one meeting with a Harvest Tec Service Rep to address your issue and find a solution!
Troubleshooting FAQs
If you still have questions and need troubleshooting help from Harvest Tec, give us a call @ 800-635-7468 or email us @ service@harvesttec.com.
Great Question- check out are Repairs & Returns page for the answer!
We are glad you asked! Check out our warranty statement to have all your warranty questions answered.